Connecting and Using Microphones
This guide explains how to set up and use microphones in Mackey Hall with the wall touchscreen audio controls.
Choose the Right Microphone
| Need | Use |
|---|---|
| Speaker at the pulpit | Pulpit 1 or Pulpit 2 |
| Speaker moving around the room | Wireless 1 or Wireless 2 |
| Hands-free speaking | Lapel |
Before You Start
- Make sure the sound system is on. If needed, see Turning the Sound System On.
- Open the wall touchscreen audio controls and select the correct preset. If needed, see Using Audio Controls.
- Use
Pulpit Wired Micsfor pulpit channelsPulpit 1andPulpit 2. - Use
Wireless MicsforWireless 1,Wireless 2, andLapel. - Start with the channel level low, unmute the channel, speak normally, then raise the level gradually.
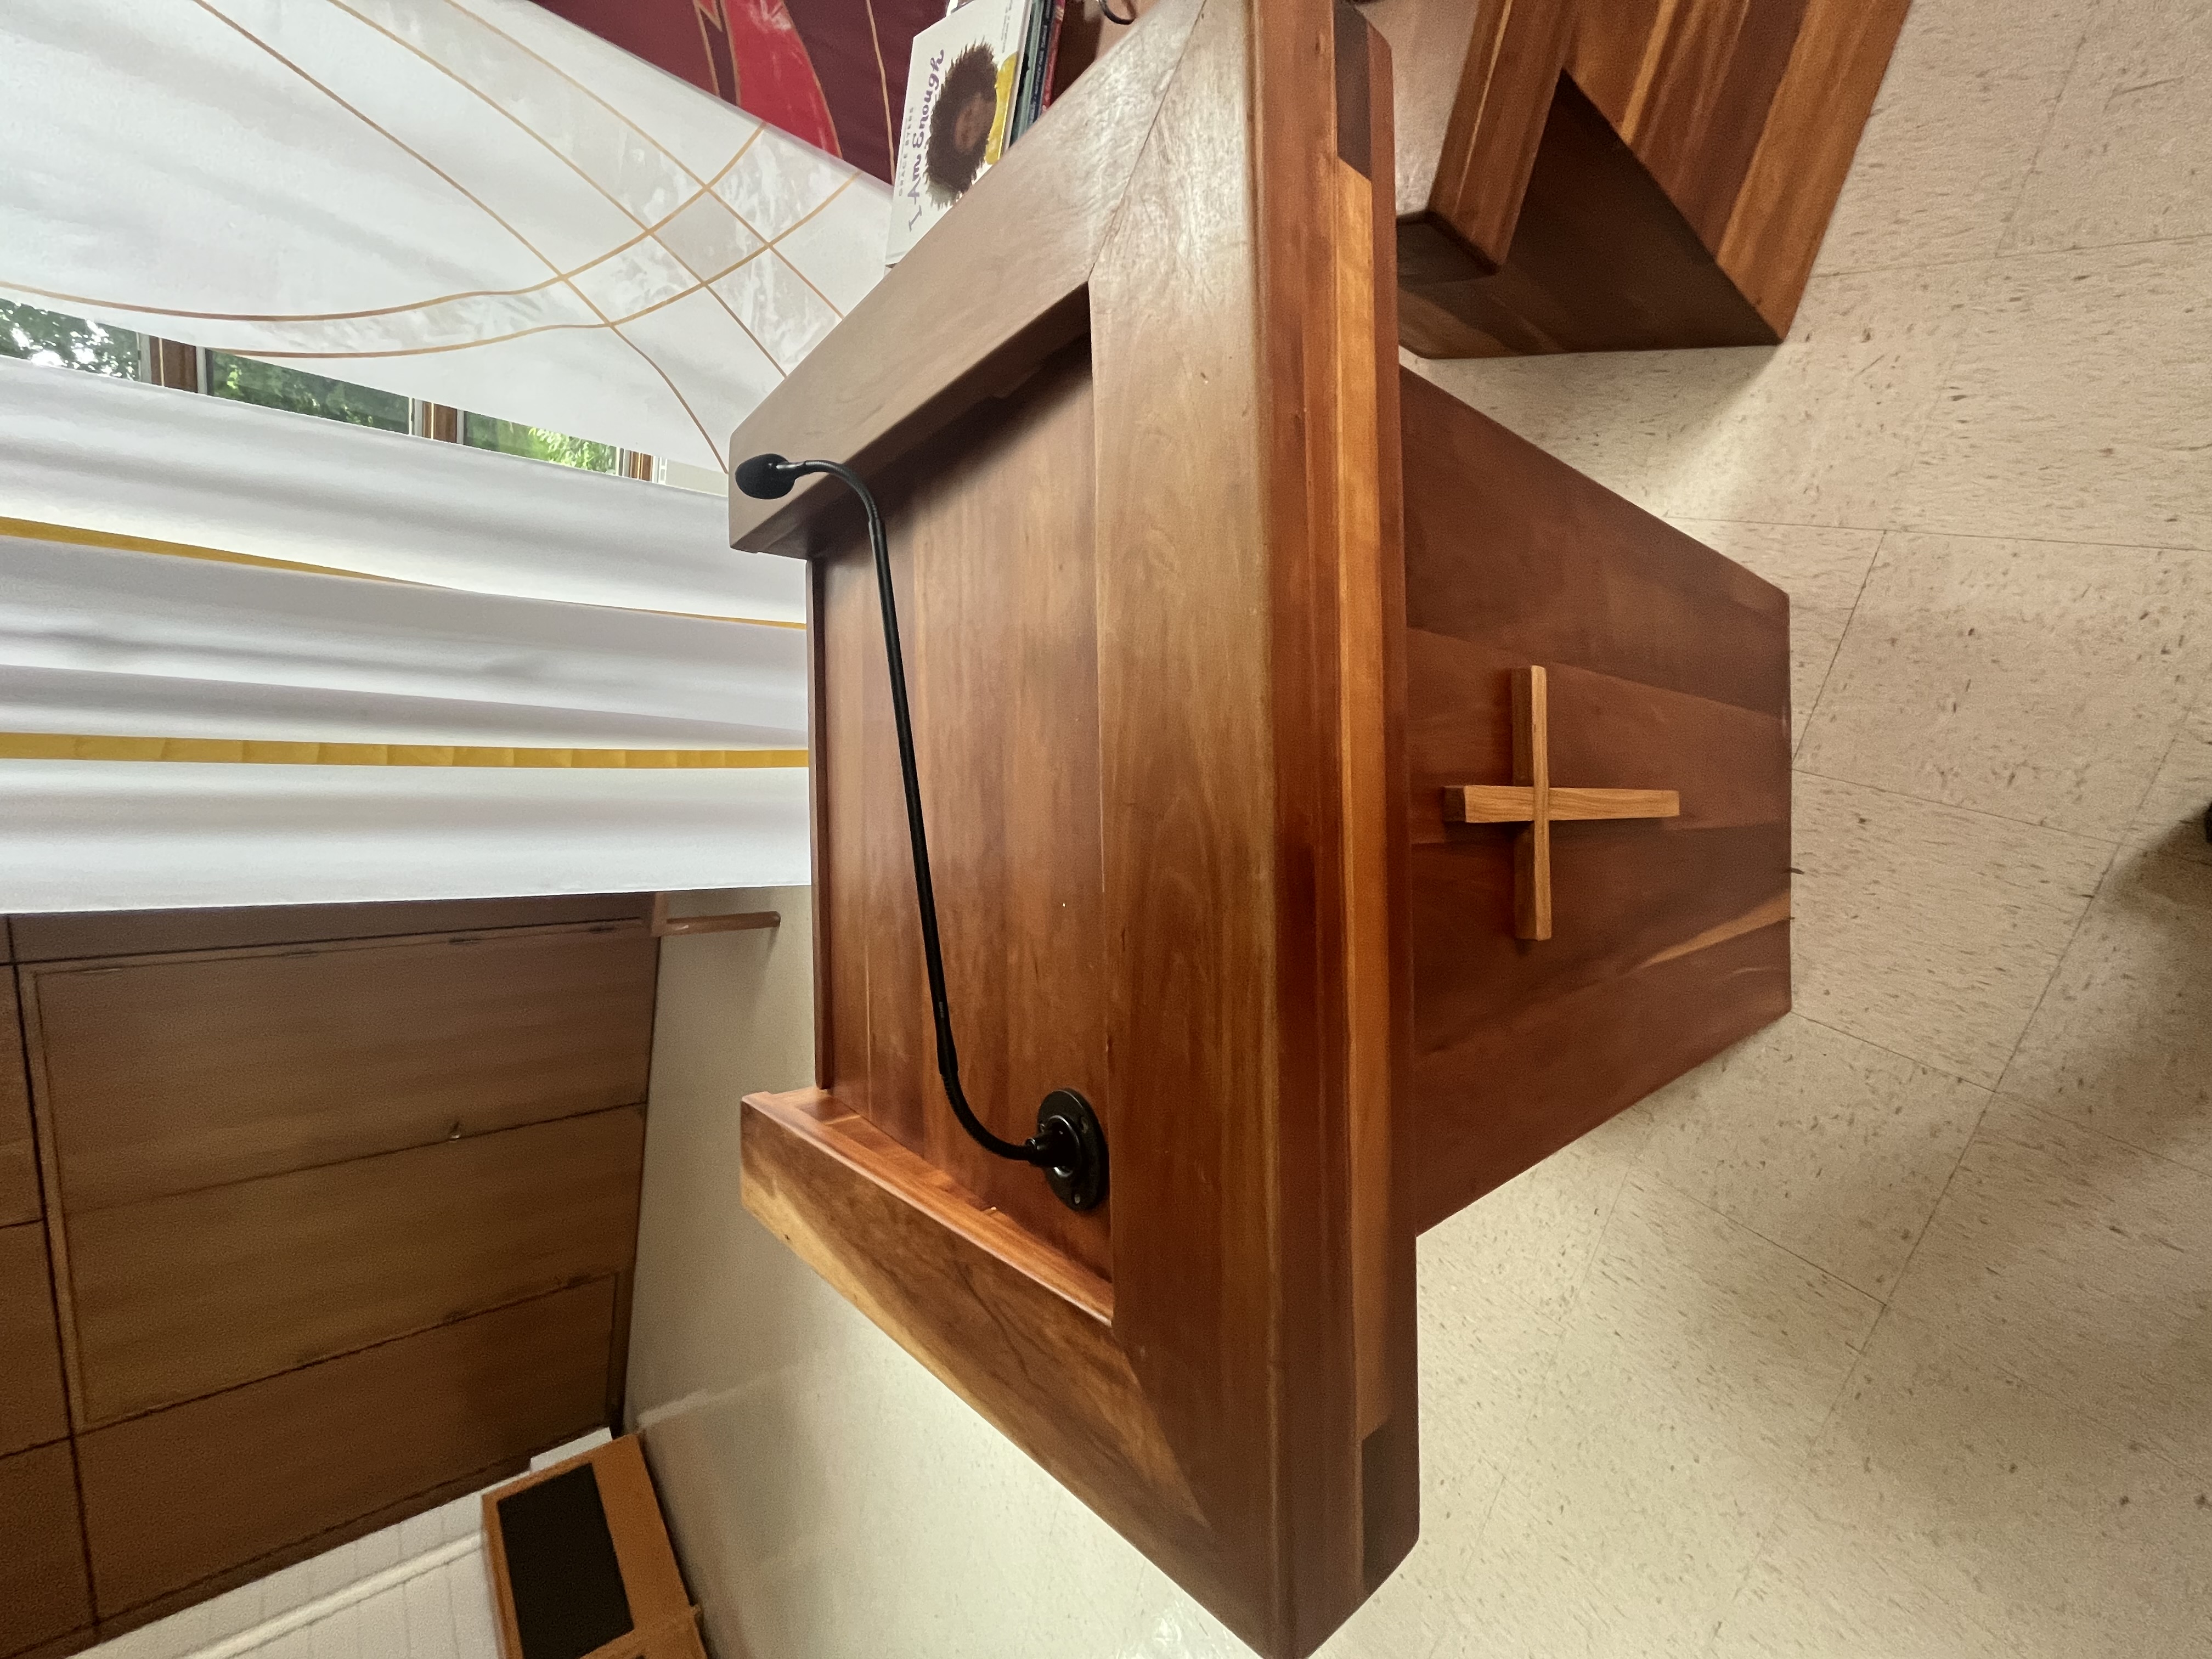
Pulpit Microphone
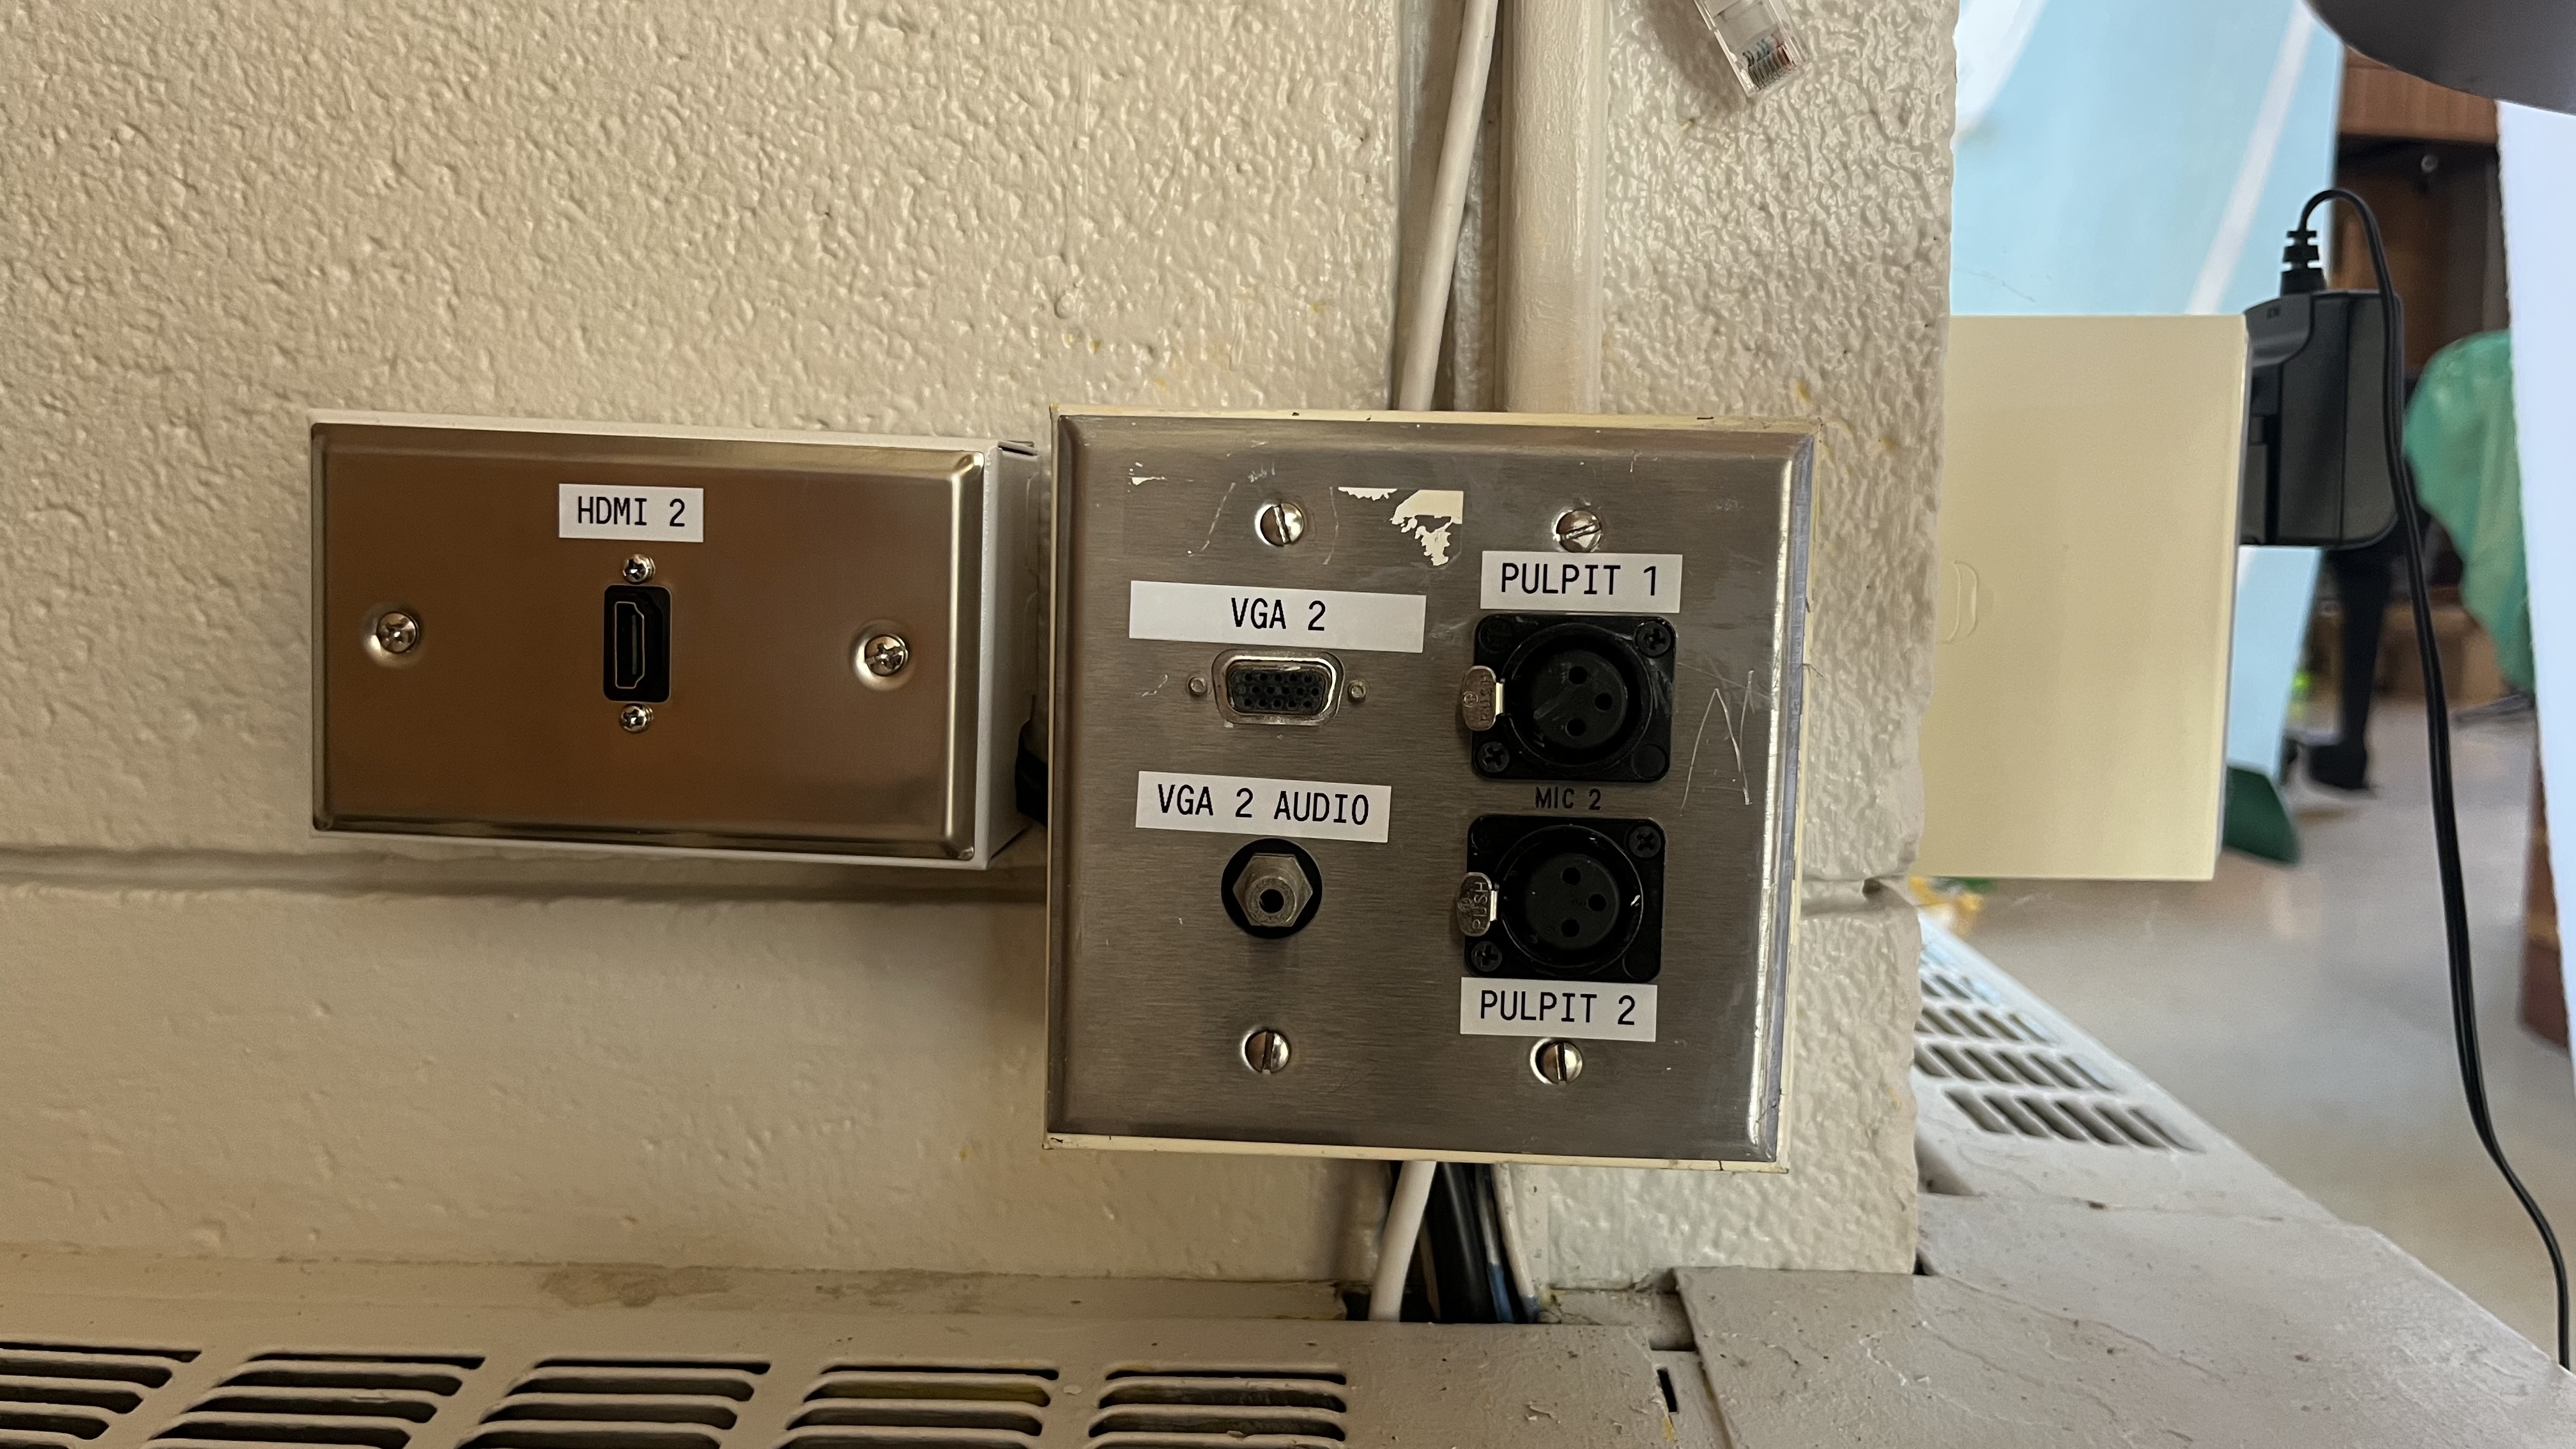
- Locate the pulpit microphone and cable, if not already plugged in.
- Plug the microphone into
Pulpit 1orPulpit 2. - On the wall controls, open
Pulpit Wired Mics. - If the selected pulpit channel shows
Mutedin red, press it once to unmute. - Set level with
+1%,-1%, or the slider.
Lapel Microphone (Wireless)
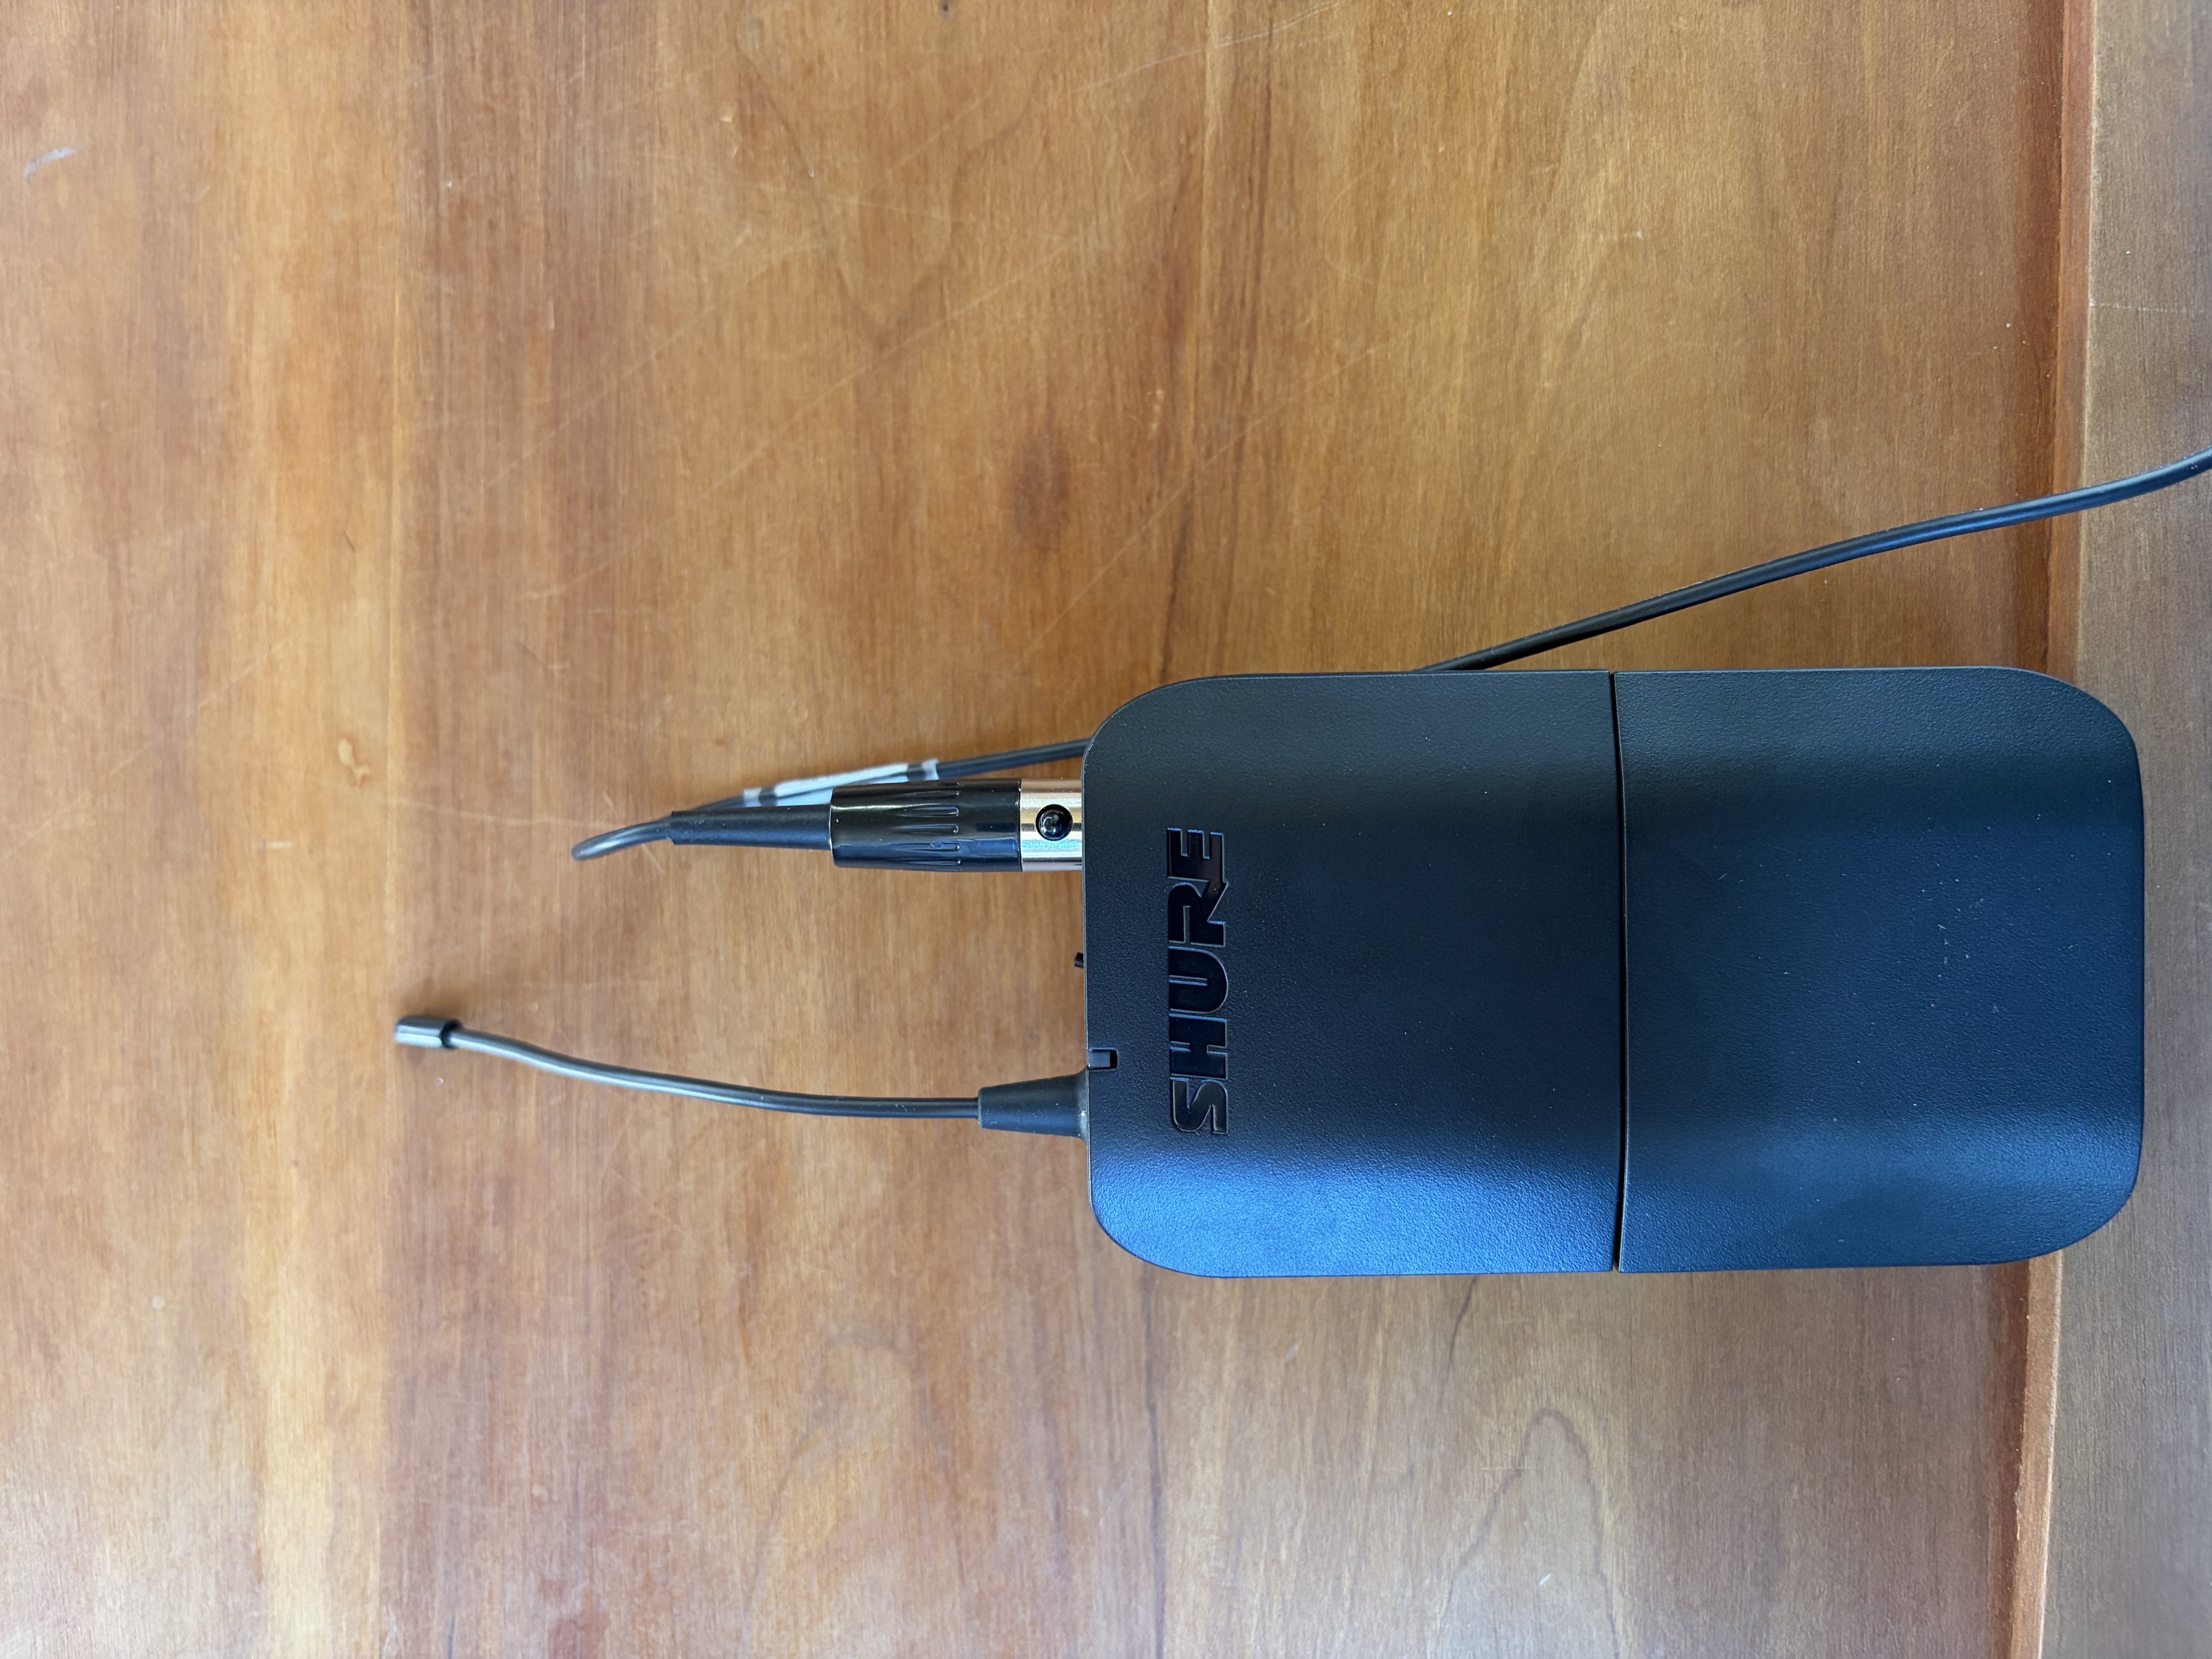
- Locate the lapel bodypack and lapel mic (kept in the pulpit when not in use).
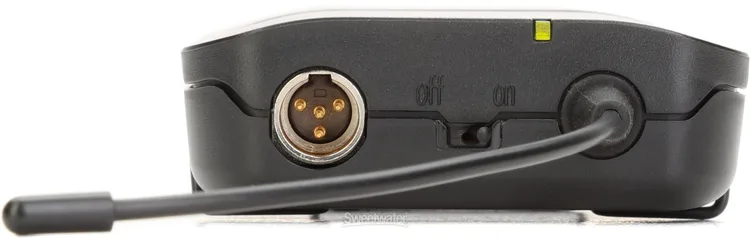
- Power: move the top power switch to
on. - Clip the lapel mic near the speaker's upper chest, outside of scarves or heavy clothing.
- On the wall controls, open
Wireless Micsand use channelLapel. - If channel
LapelshowsMutedin red, press it once to unmute. - Set level with
+1%,-1%, or the slider.
Lapel Reference Images
Lapel Microphone Bodypack
Lapel Power On/Off Switch
Handheld Wireless Microphones
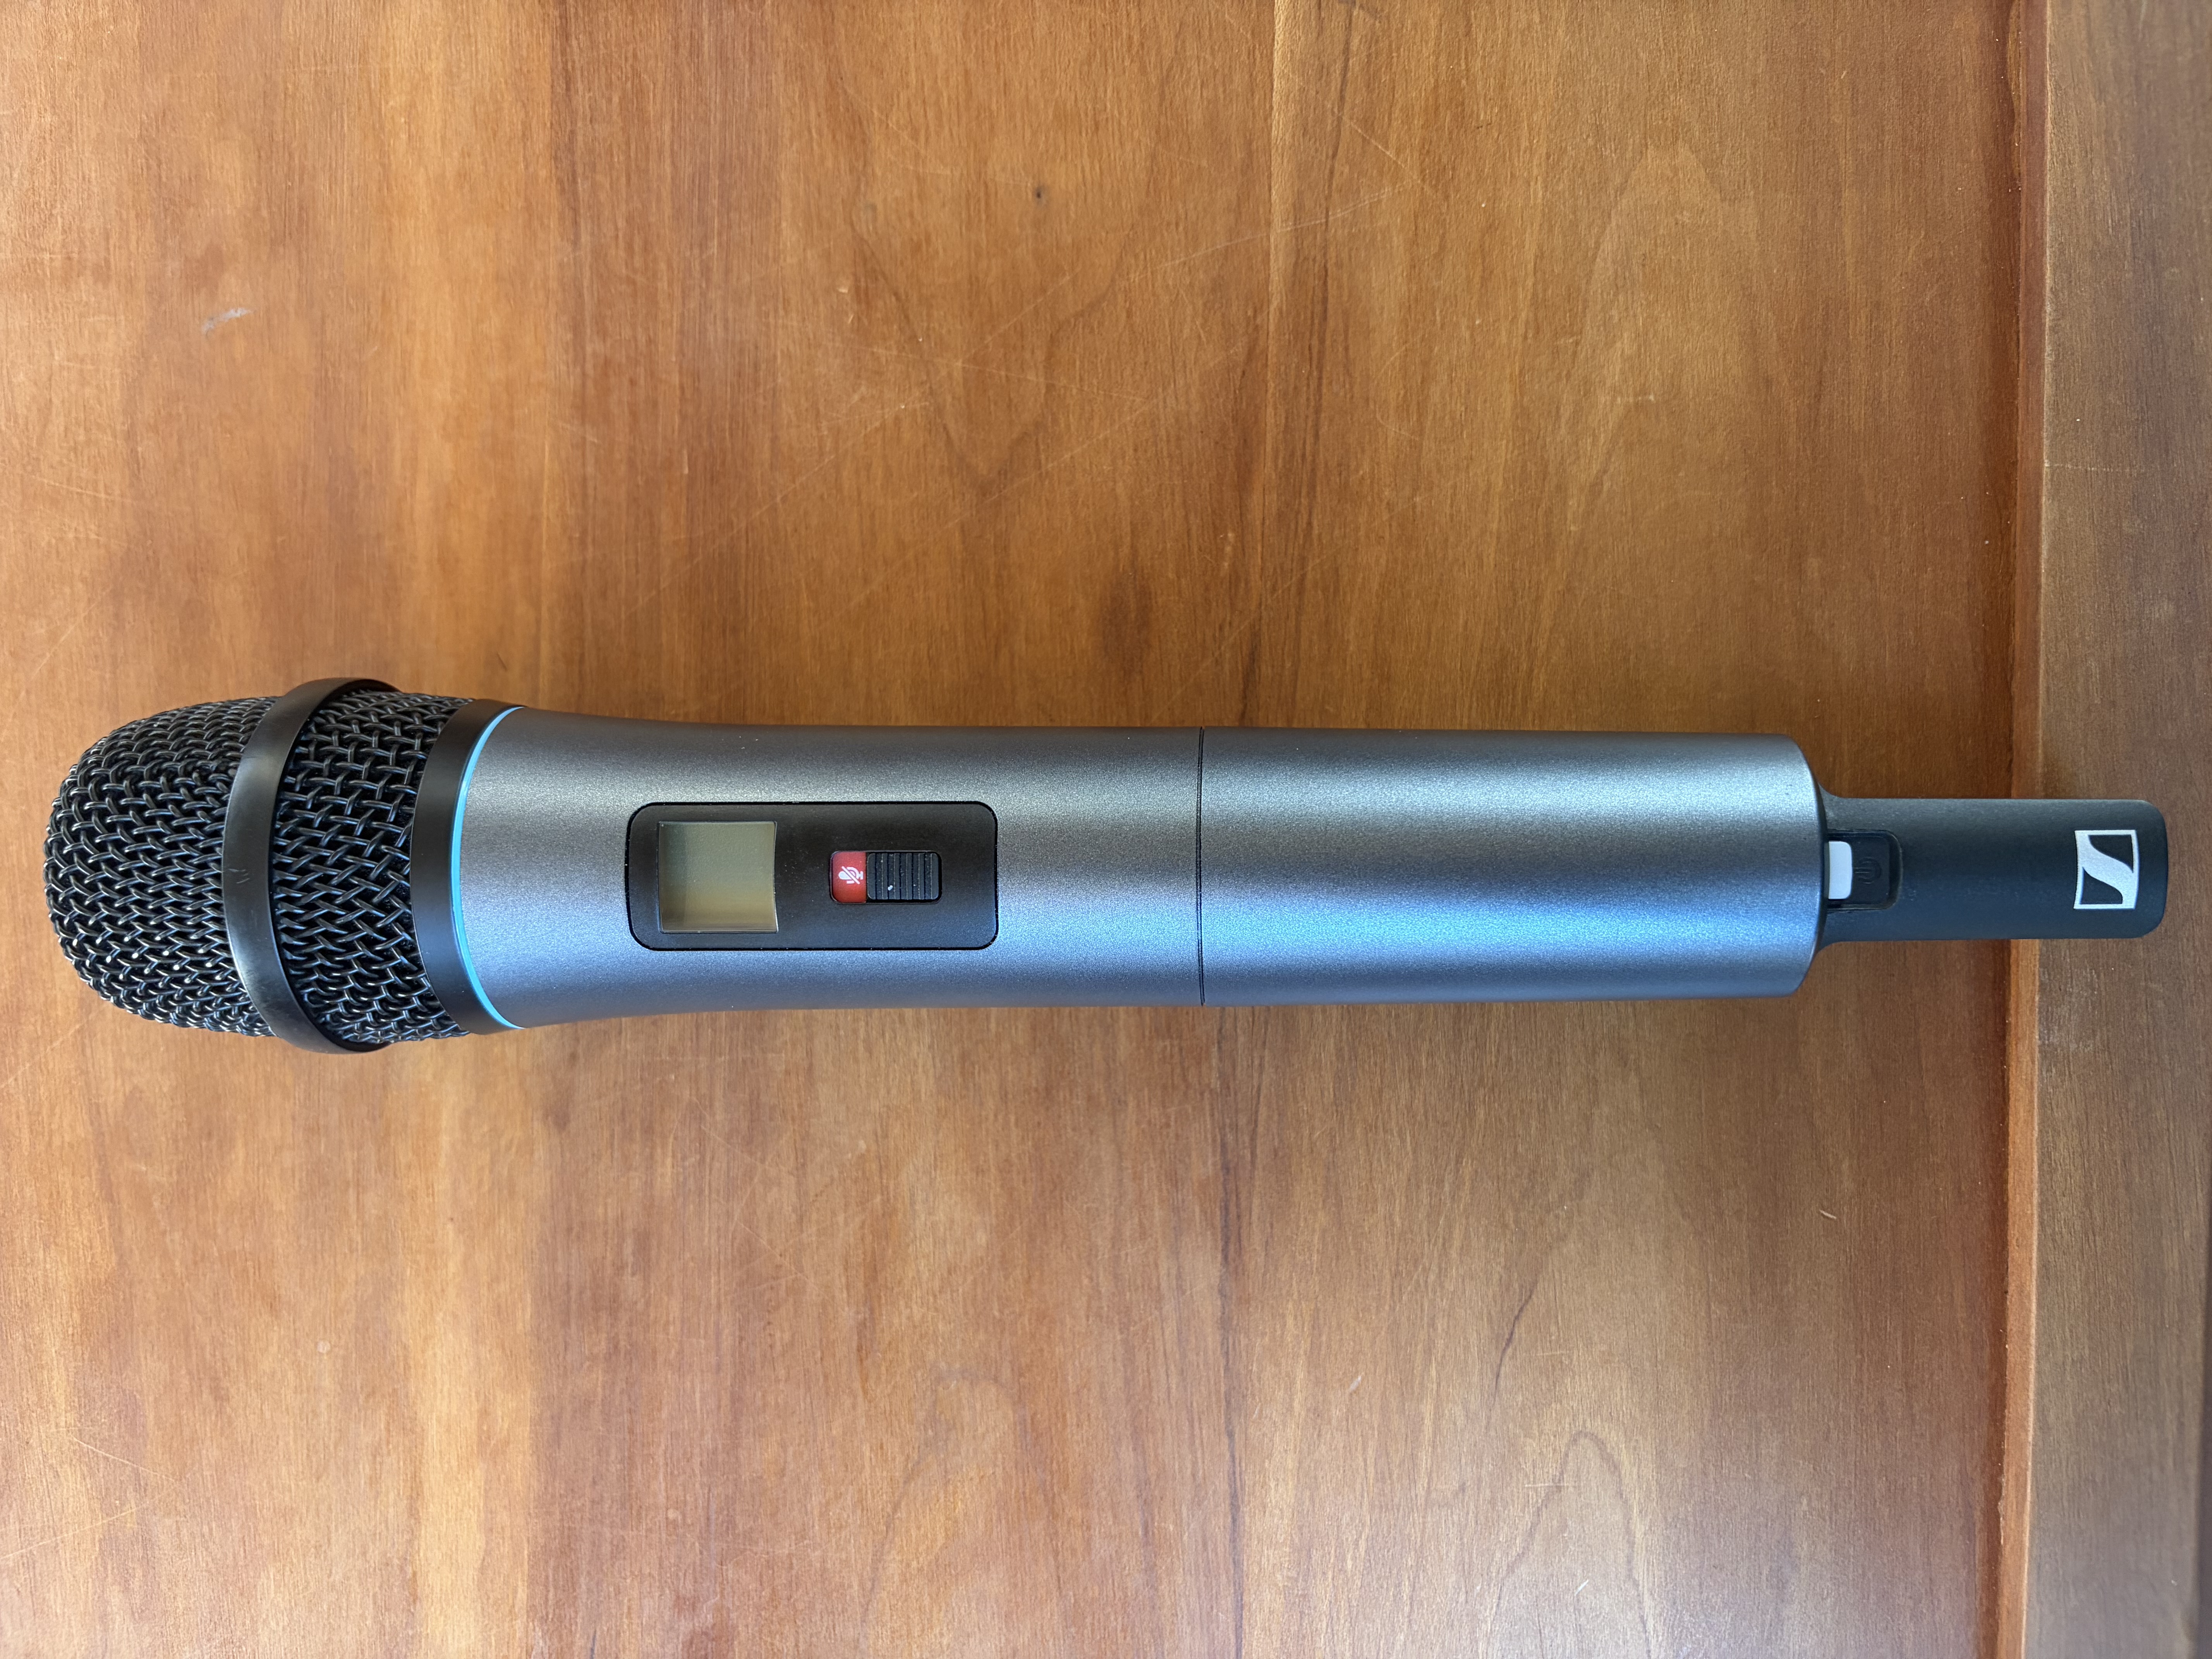
Wireless 1 (Handheld 1)
- Locate
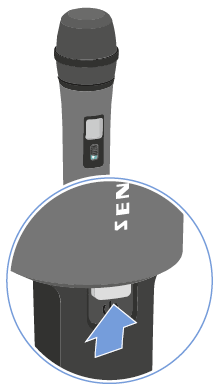
Handheld 1(kept in the pulpit when not in use). - Power: short-press
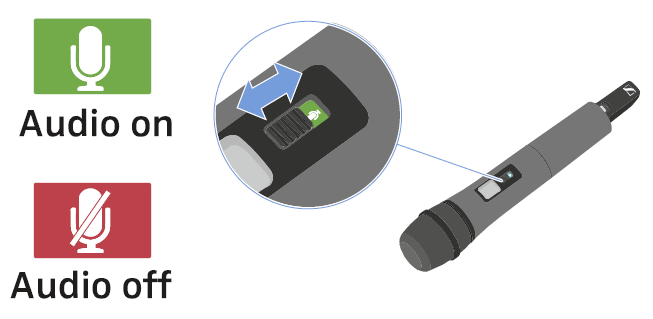
ON/OFFto turn on; press and holdON/OFFto turn off. - Mute: use the handheld mute switch to mute or unmute the mic.
- On the wall controls, open
Wireless Micsand use channelWireless 1. - If channel
Wireless 1showsMutedin red, press it once to unmute. - Set level with
+1%,-1%, or the slider.
Wireless 1 Reference Images
Wireless 1 Microphone Body
Wireless 1 Power Indicator
Wireless 1 Mute/Unmute Switch
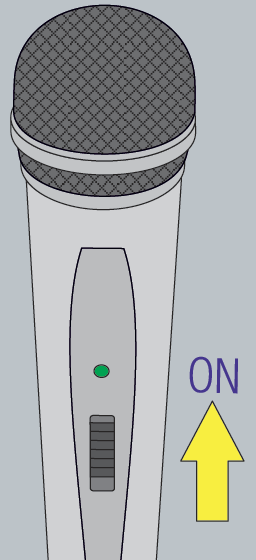
Wireless 2 (Handheld 2)
- Locate
Handheld 2(kept in the pulpit when not in use). - Power: slide the switch to turn the microphone on or off.
- On the wall controls, open
Wireless Micsand use channelWireless 2. - If channel
Wireless 2showsMutedin red, press it once to unmute. - Set level with
+1%,-1%, or the slider.
Wireless 2 Reference Images
Wireless 2 Microphone Body
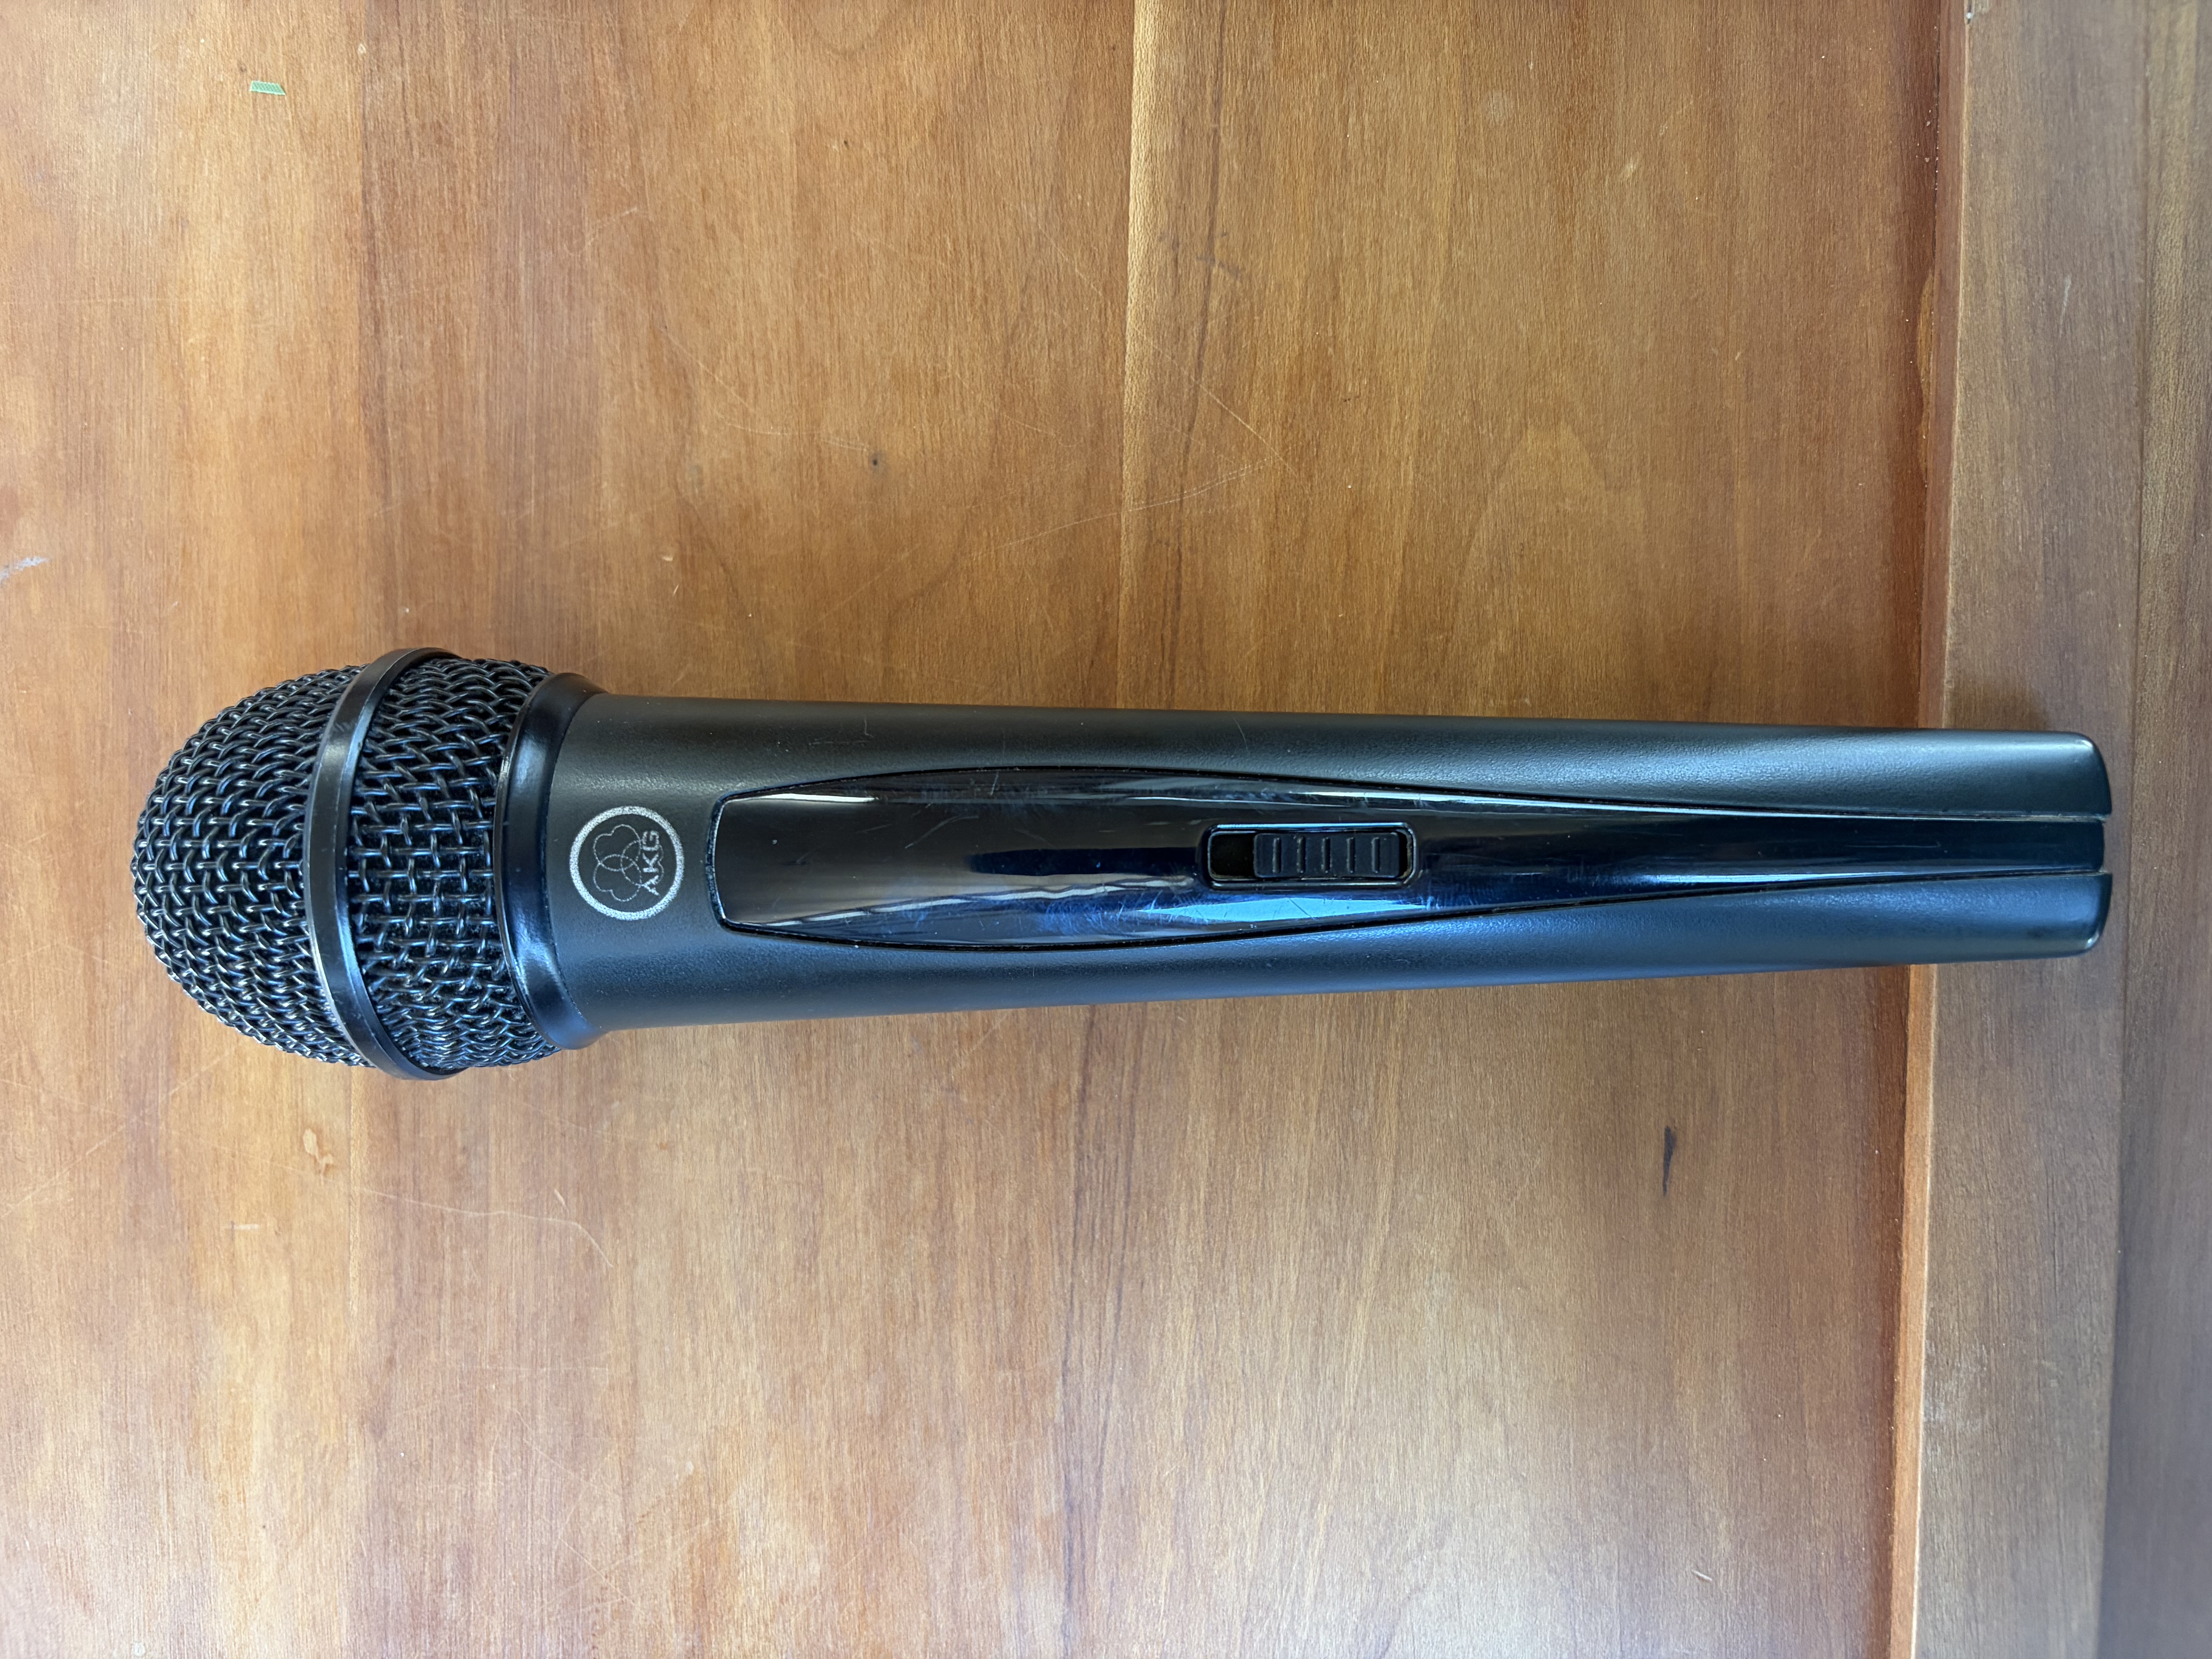
Wireless 2 ON/OFF Switch
Mute and Level Notes
- A red
Mutedbutton on the wall controls means that channel is muted. - Press
Mutedonce to unmute. - Use
Defaultto return a channel to its normal level. - You can press and hold
+1%or-1%for faster continuous changes. - Start with lower levels, speak into the microphone, then raise gradually.
- If a wireless mic has no audio, check battery level and power switch position.
If a Microphone Does Not Work
- Confirm the sound system is on.
- Confirm the correct preset is open:
Pulpit Wired MicsorWireless Mics. - Confirm the matching channel is unmuted.
- Confirm the microphone itself is turned on and not muted.
- For wireless microphones, check the battery level or try fresh batteries if available.
- For pulpit microphones, confirm the cable is plugged into the matching input.
Technical Note
The wall controls and the microphone can both mute audio. For wireless microphones, check both the iPad channel and the physical microphone switch.